Stain Removal
How to Remove Tree Sap From Car Paint Without Damaging It
Tree sap removed on real painted panels, with the alcohol concentration question settled and the dwell times that actually worked on hardened resin.
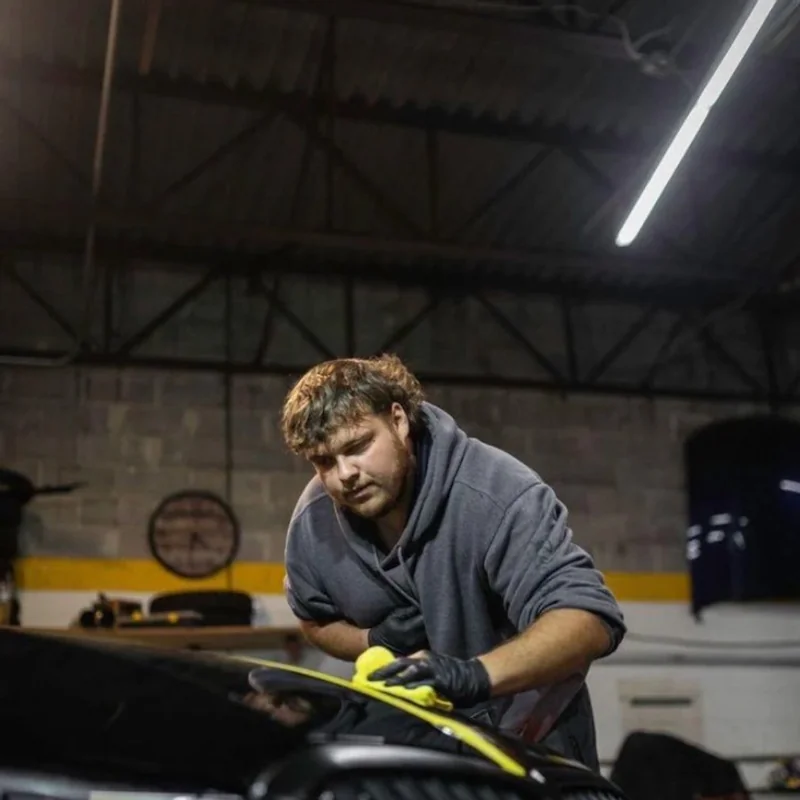
By Ducky, Co-founder and Lead Tester, ShineMD
Ducky works for Shine Master Detailers LLC, which makes ShineMD.
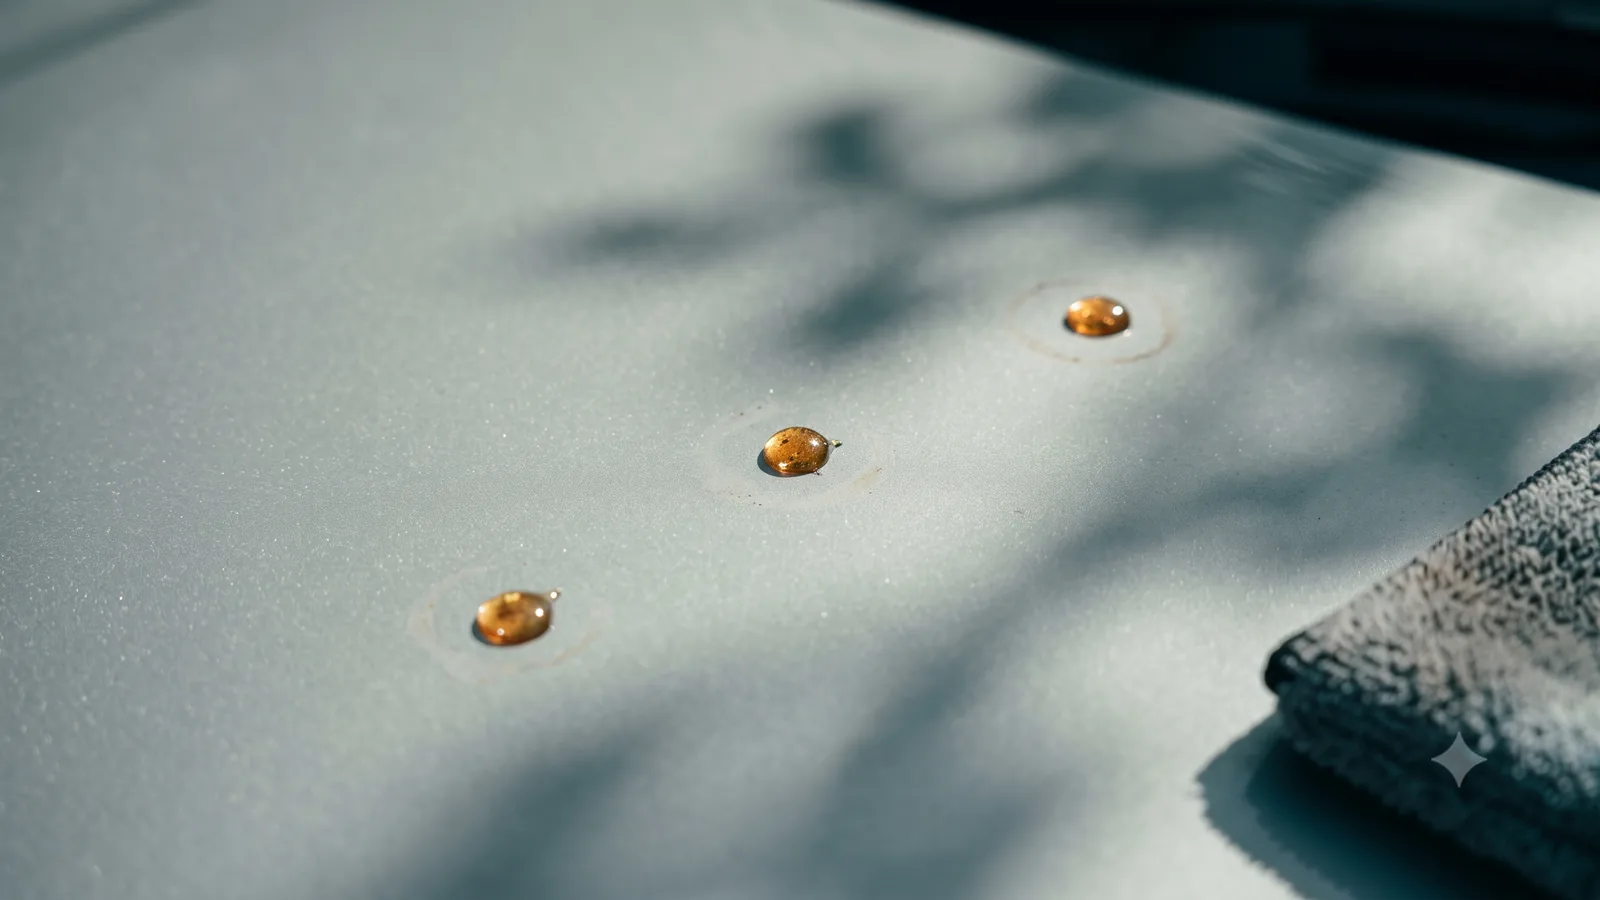
Tree sap is the contaminant people panic about most, and the panic is what causes the damage. Sap itself will not eat through your clear coat in an afternoon. What ruins paint is somebody attacking hardened resin with a fingernail, a razor blade, or a solvent aggressive enough to soften the clear coat along with the sap.
The good news is that sap comes off reliably if you let chemistry do the work instead of force. The bad news is that the guides telling you how contradict each other on the one detail that matters.
Settle the alcohol question first
Search this topic and you will be told two incompatible things by sources that both sound confident.
One position, which you will find on well-known general-interest sites, is to dilute isopropyl alcohol to roughly fifty percent before it touches paint. The other, common on car care blogs, is that anything below ninety-one percent contains too much water to break down cured resin and will simply smear it around.
Both cannot be right, and the disagreement is not academic — it is the difference between a five-minute job and an afternoon of frustration.
Here is what actually governs the outcome, and it is not the number on the bottle. Isopropyl alcohol dissolves sap by softening the resin binder, and that reaction is limited by dwell time far more than by concentration. A 50 percent solution held against sap for a genuine two minutes outperforms a 99 percent solution wiped on and immediately wiped off, because the higher concentration flashes off the surface before it has done any work. This is why both camps believe they are right: each is describing the result of their own technique, not the property of the solvent.
Higher concentration does work faster, and on thick, fully cured deposits it is meaningfully better. It is also harsher on wax, sealant and trim, and it evaporates so quickly that keeping it wet becomes the whole challenge.
The practical answer: start at around 70 percent, keep it wet with a saturated pad rather than a spray, and give it time. Escalate to 91 percent only for deposits that survive two patient attempts.
The method
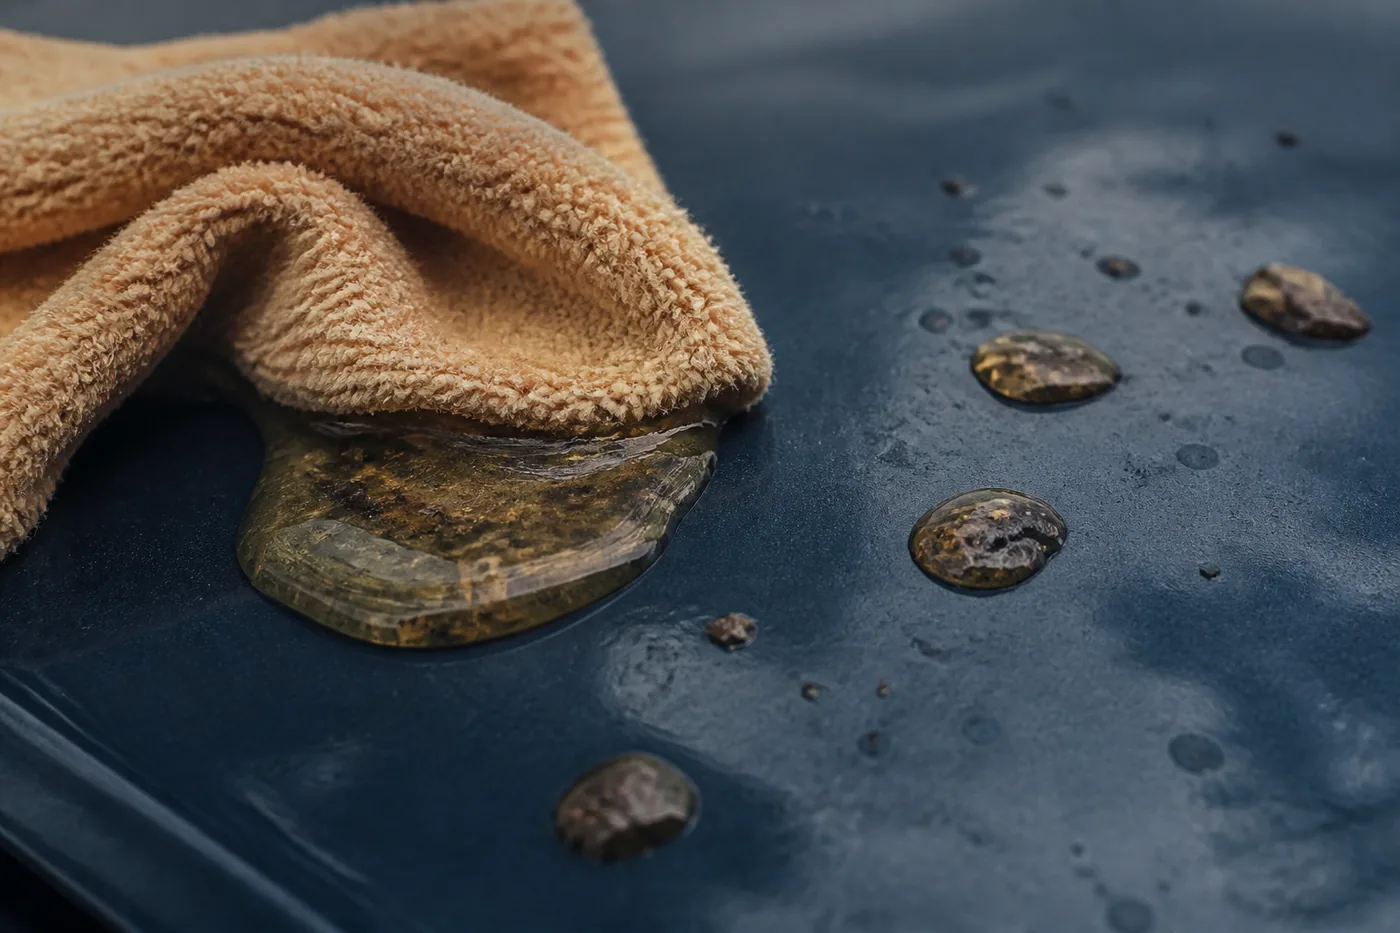
Soak, wait, then lift. Every attempt to speed this up by scrubbing ends with the sap dragged across the paint instead of off it. Illustration.
Wash the panel first. Removing sap from a dirty surface grinds grit into the paint under whatever you are wiping with. This step is not optional and it is the one most often skipped.
Soften with heat if the sap is old. Warm water poured over the deposit, or ten minutes of direct sun, makes cured resin dramatically more responsive. Do not use a heat gun.
Saturate, do not spray. Fold a microfibre into a pad, soak the contact area with alcohol, and lay it over the sap. Leave it there for one to two minutes. A spray bottle puts a mist on the surface that evaporates before anything happens, which is the single most common reason people conclude alcohol does not work.
Lift, do not rub. After the dwell, wipe in one direction with light pressure. The sap should come away with the pad. If it resists, re-saturate and wait longer rather than pressing harder. Pressing harder is how you put swirl marks around the spot you were fixing.
Repeat rather than escalate. Two patient passes at 70 percent beat one aggressive pass at 99 percent, and they leave your protective layer intact.
Re-protect the area. Alcohol strips wax, sealant and most spray coatings along with the sap. Whatever protection was on that panel is now gone from the spot you cleaned, so that area needs re-treating.
What not to use
Razor blades and plastic scrapers. Nothing rigid should touch clear coat. The sap will come off and so will an arc of paint around it.
Acetone, lacquer thinner and brake cleaner. These will remove sap immediately and can soften or haze clear coat while doing it. Nail polish remover belongs in the same category.
Bug and tar remover, as a first resort. These are effective and they are solvent-based, so they strip protection aggressively. Reach for them after alcohol has failed twice, not before.
A dry towel and determination. Dragging hardened resin across paint is straightforwardly abrasive.
If the sap has already etched the clear coat
Sap that has sat through a few hot days can leave a depression or a dull ring after removal. If you can still see an outline once the deposit is gone, the clear coat itself has been affected and no amount of further cleaning will change it. That is a polishing job, which removes a small amount of clear coat to level the surface, and it is worth reading our paint correction guidance before starting — particularly the part about measuring what you have to work with.
The honest conclusion
Sap removal is a solved problem when the surface is protected and unsolved when it is not. On a coated panel, sap sits on top of the coating rather than keying into the clear coat, and most of it lifts with a soak and no solvent at all. On bare, unprotected clear coat, the same deposit bonds into the surface and every removal method carries some risk.
We make a coating, so treat that observation with appropriate scepticism — and note that it applies equally to any protective layer, ours or anyone else’s.
Keep reading
All stain removal guides →
Does Graphene Coating Actually Work? What Can and Cannot Be Claimed
We make a graphene coating, so we tested whether graphene does anything measurable. What the claims are, which are testable, and what the evidence shows.
How to Remove Bug Splatter From Car Paint and Front Bumpers
Bug remains break down paint through enzymes and alkalinity, which is why they worsen fast in heat. A soak-first method for bumpers, grilles and mirrors.
How to Remove Bird Droppings From Car Paint Before They Etch
Bird droppings etch paint through heat and shrinkage, not acid. What that changes about removing them, and how long you actually have before damage sets in.