Stain Removal
How to Remove Bug Splatter From Car Paint and Front Bumpers
Bug remains break down paint through enzymes and alkalinity, which is why they worsen fast in heat. A soak-first method for bumpers, grilles and mirrors.
By Ducky, Co-founder and Lead Tester, ShineMD
Ducky works for Shine Master Detailers LLC, which makes ShineMD.
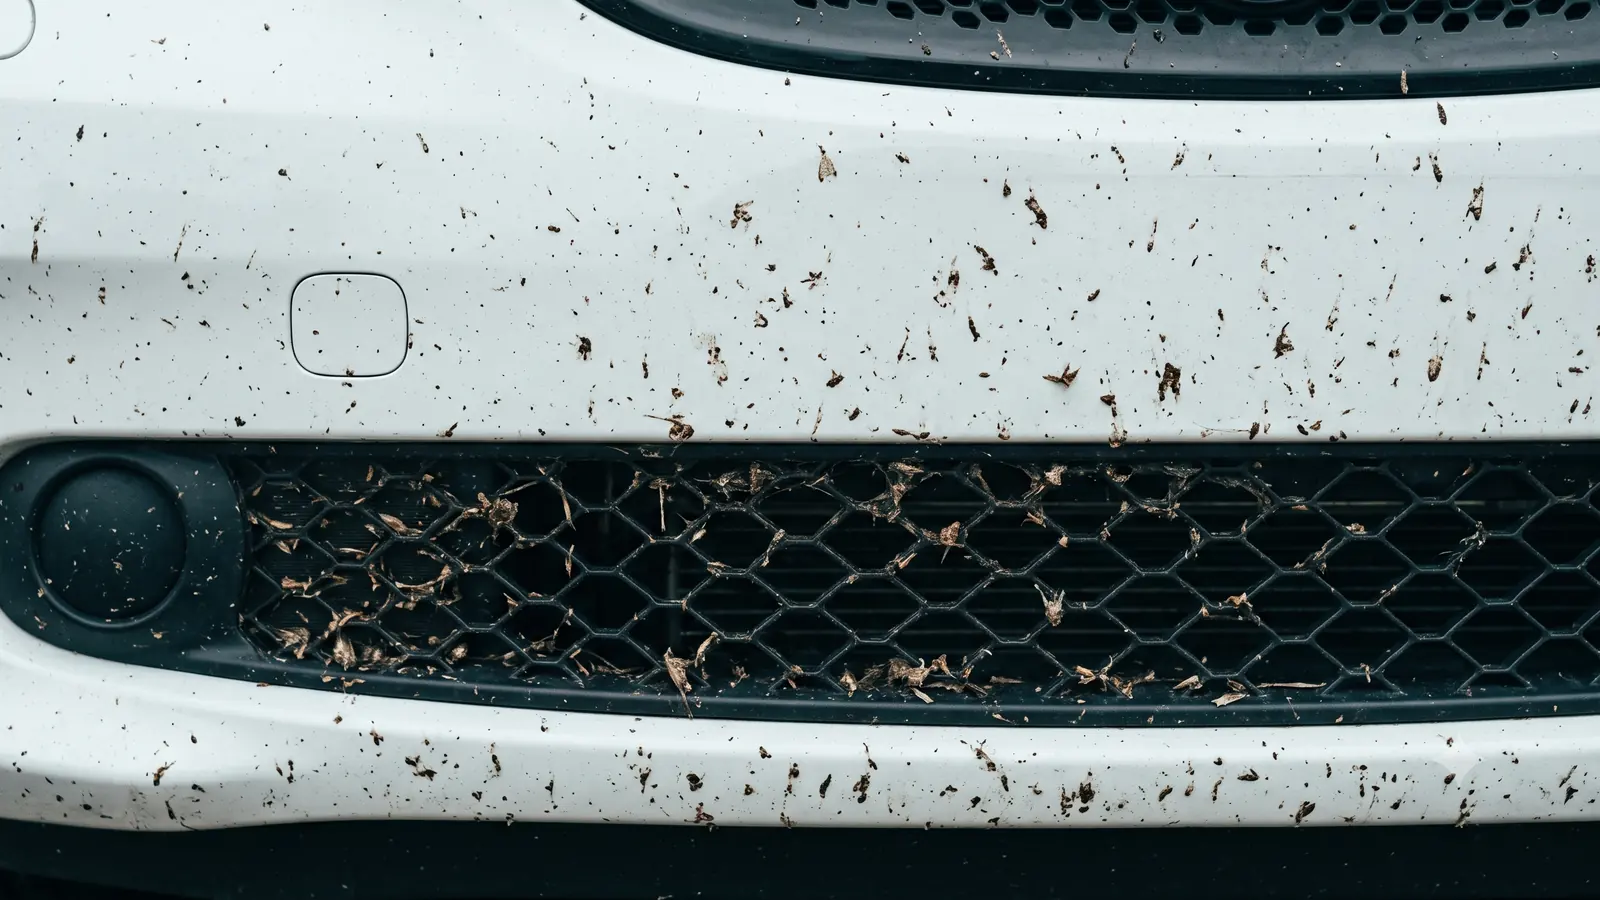
Bug splatter is the contaminant most likely to be left too long, because it accumulates gradually on the parts of the car you look at least. It is also genuinely corrosive in a way that tree sap is not, which makes the delay expensive.
Why bug remains attack paint
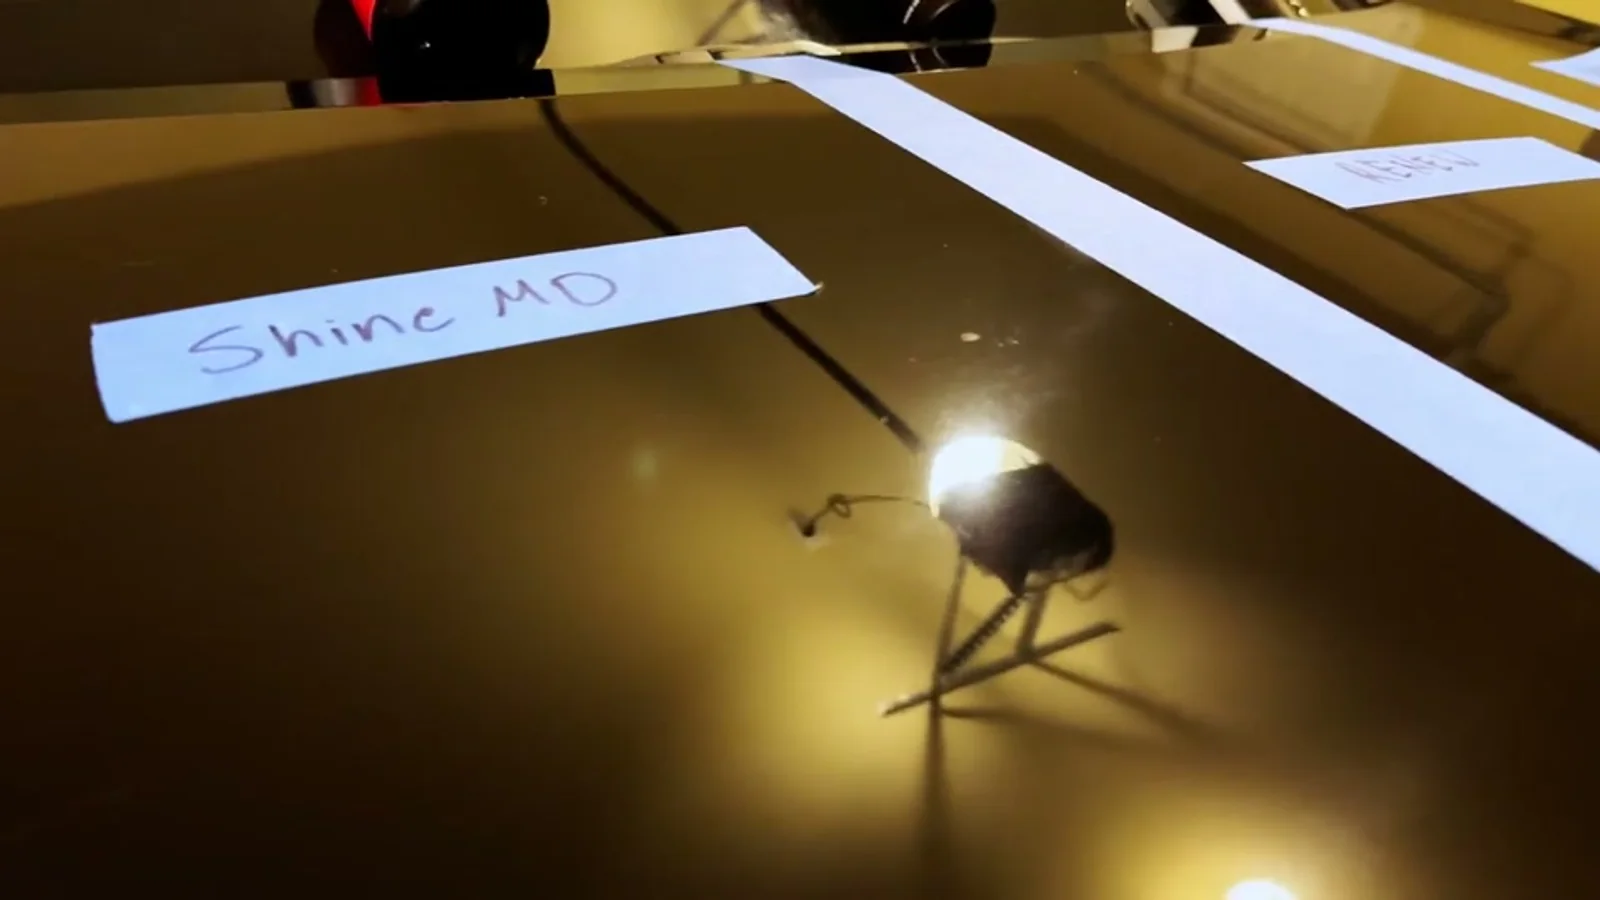
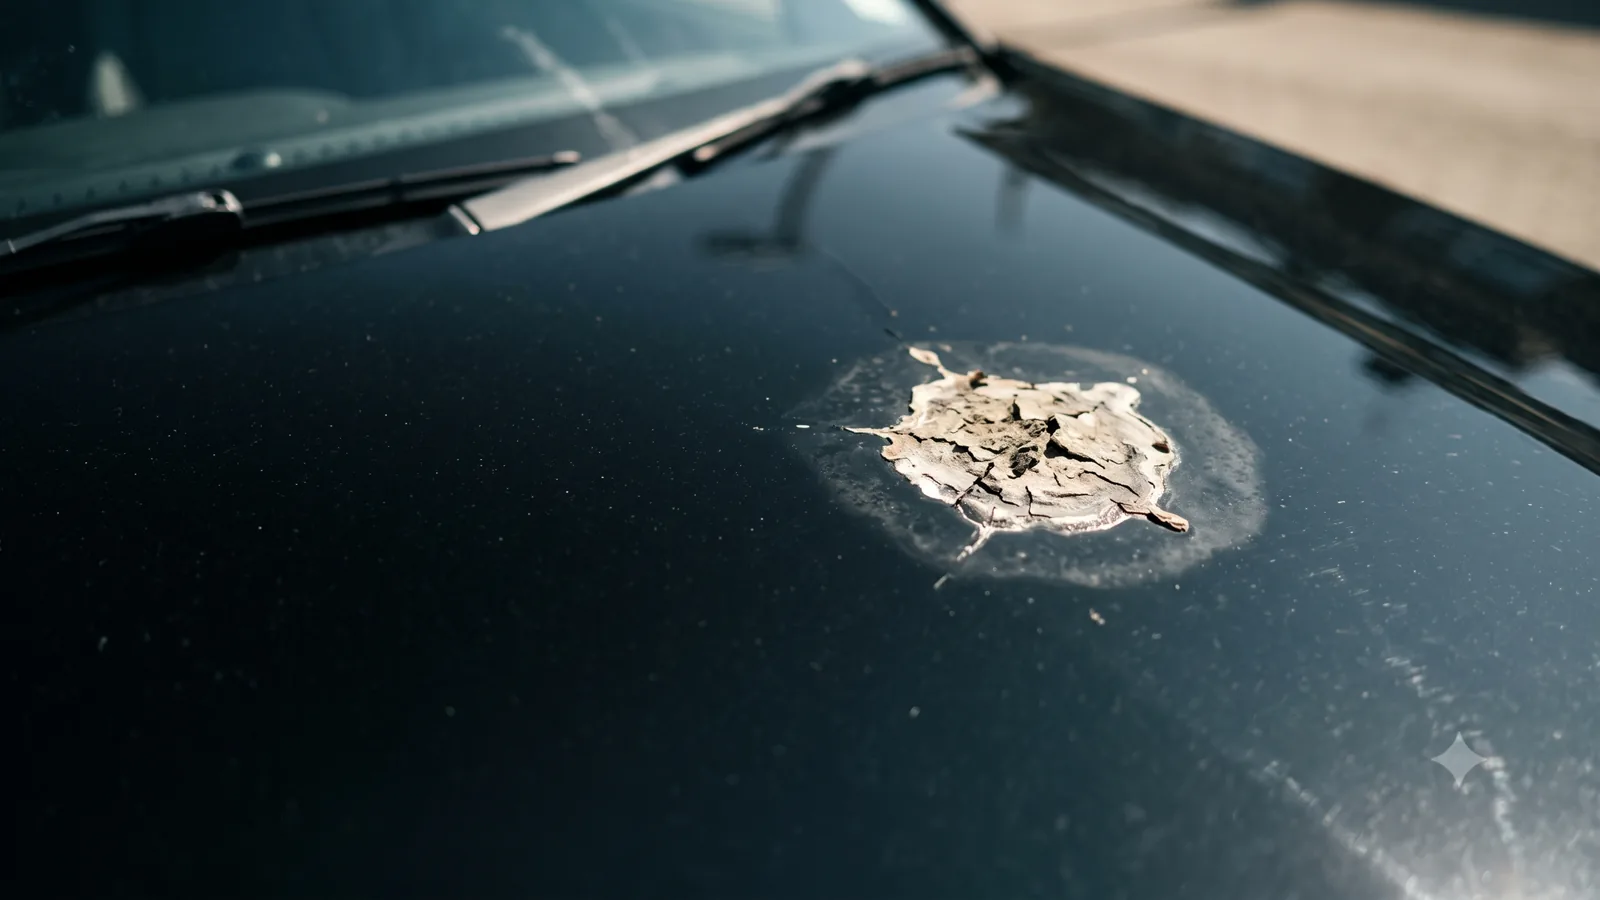
Not staged. This one landed on a labelled test section during our own coating filming, which is roughly how the problem presents itself in real life. Still from our footage.
Insect bodies are largely protein, and decomposition produces both enzymes and an alkaline residue. Unlike bird droppings, where the acid story is overstated, the chemical mechanism here is doing real work: alkaline decomposition products attack clear coat directly, and they get more aggressive as they concentrate in heat.
That gives bug splatter a genuinely different profile from other contaminants. It gets worse on a curve, not a line. A day is usually fine. A week in summer heat on a front bumper can leave permanent pitting, and the deposits will have hardened into something that no longer rinses off.
The other complication is location. Bug strikes concentrate on the front bumper, the grille, the leading edge of the bonnet and the mirror faces — all of which see the highest airflow, the most heat, and often the most abrasive dirt. Those are also the areas most likely to have thin or previously refinished paint.
The method
Soak before contact, without exception. This is the whole technique. Lay a microfibre soaked in warm water and car shampoo over the affected area and leave it for five minutes. Rehydrating the protein is what makes the deposits release. Everything that goes wrong with bug removal goes wrong because somebody skipped this.
Use a dedicated bug remover on anything that survives the soak. These are formulated to break down protein and they work. Apply to a cool, wet surface, respect the dwell time, and rinse fully. Do not let them dry on the paint.
A bug sponge or mesh pad is acceptable here, with conditions. The surface must be flooded with soapy water, the pressure must be light, and the pad must be rinsed constantly. These tools cause damage when used on a semi-dry panel — the deposits themselves become the abrasive.
Work the grille and mesh with a soft detailing brush. Bug remains pack into mesh and honeycomb grilles where towels cannot reach, and they will keep decomposing there. A soft brush and flowing water gets them out.
Do not forget the mirror faces and the leading edge of the roof. Both collect strikes and both get missed.
Re-protect the front end afterwards. Bug removers are aggressive and will strip protection. The front bumper is the part of the car that most needs a protective layer and the part that most often has none, because it is repeatedly stripped and rarely re-treated.
What not to do
Dry-wiping a bumper covered in dried bugs. Hardened insect remains contain hard chitin fragments and the deposits are welded on. This is abrasion, straightforwardly.
Pressure washing at close range. It will remove the bugs. It can also drive water past headlight seals and lift the edges of any paint that has previously been repaired. Keep the distance and the angle sensible.
Dryer sheets. This circulates persistently and it works, in that bugs do come off. Dryer sheets are impregnated with a mild abrasive and cationic softeners; on clear coat, used dry, they marr the surface. The fact that a method removes the contaminant does not mean it left the paint intact.
WD-40 and similar penetrating oils. Effective, and they leave a film that has to be degreased off afterwards, which means two chemical processes on the paint instead of one. There is no advantage over a purpose-made bug remover.
Letting it wait for the next full wash. Of all the contaminants covered on this site, this is the one where delay has the clearest cost.
If pitting is already there
Look along the bumper and the leading edge of the bonnet from a shallow angle. Small, evenly distributed pinpricks that stay visible when wet are etch pits from decomposed remains, and they are common on cars that see motorway miles in summer.
Light pitting will often improve substantially with a polish, though it may not clear entirely — you are levelling around a depression rather than filling it. Heavy pitting on a front bumper is one of the few cases where the honest recommendation is refinishing, and it is worth knowing that a bumper is usually among the cheaper panels to have resprayed.
The prevention that actually works
Protection genuinely reduces this, and the reason is straightforward: bug remains that cannot key into the clear coat come off in a soak instead of needing solvent. On a coated front end, a summer’s worth of strikes typically rinses away during a normal wash.
We make a coating and have an obvious interest in that observation, so treat it sceptically. The version of the claim we are confident in is narrower and product-agnostic: any intact protective layer on the front bumper is worth more than any removal technique, because the layer converts an urgent chemical problem into routine washing. Which layer it is matters much less than whether one is there at all.
The other prevention is unglamorous. Wash the front of the car more often than the rest of it in summer.
Keep reading
All stain removal guides →
How to Remove Tree Sap From Car Paint Without Damaging It
Tree sap removed on real painted panels, with the alcohol concentration question settled and the dwell times that actually worked on hardened resin.
How to Remove Bird Droppings From Car Paint Before They Etch
Bird droppings etch paint through heat and shrinkage, not acid. What that changes about removing them, and how long you actually have before damage sets in.
How to Remove Water Spots From Car Paint, By Type
Three different problems get called water spots and each needs a different fix. How to identify which one you have before you reach for anything abrasive.