Paint Correction
How to Tell If Paint Needs Correction Before You Polish
Swirl marks, holograms and dull paint look similar until you inspect under the right light. A diagnosis ladder before you polish anything.
By Ducky, Co-founder and Lead Tester, ShineMD
Ducky works for Shine Master Detailers LLC, which makes ShineMD.
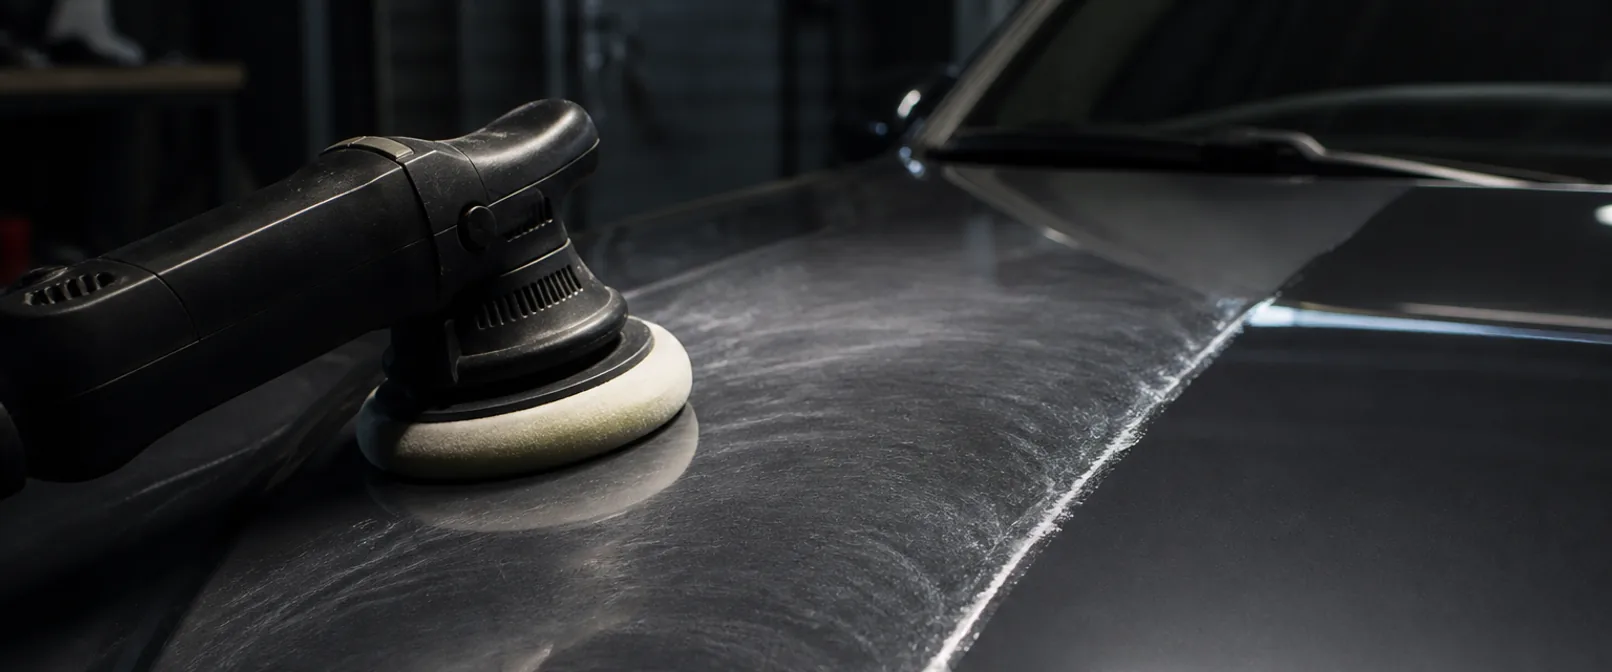
Most cars that “need polish” need a better wash, a cleaner drying towel, or a different light. Paint correction removes clear coat permanently. The useful skill is knowing whether the defect is even a correction problem — not how to run a machine.
This is an inspection guide, not a polisher shopping list.
What you are actually looking at
Clear coat is thin. Factory thickness is typically on the order of a few dozen microns. Every compounding or polishing pass spends some of that budget and you do not get it back. That is why diagnosis comes before abrasives.
Three common complaints get treated as one:
Swirl marks are fine circular or arcing scratches that catch light as a spiderweb or hologram haze, usually installed by washing and drying. They are shallow and often respond to light correction — if they are real scratches and not residue or protection failure.
Random deeper scratches are linear, catch a fingernail, or stay visible from multiple angles even when the panel is wet. Correction may reduce them; it will not always erase them safely.
Dull or cloudy paint can be oxidation, failed protection, mineral haze, or residual polish oils from a previous detail. Some of that is cleaning. Some of it is correction. Guessing wrong is how people polish deposits that would have dissolved.
If you cannot name which of those you have, do not start removing clear coat.
The inspection setup that makes defects honest
Garage fluorescent light and phone-camera flash both lie. They either hide fine scratches or invent drama that vanishes outdoors.
Wash and dry the panel first. Contaminants and water spots masquerade as defects. Use careful wash technique so you are not inspecting damage you just installed — see our wash guide if that step is where your swirls usually appear.
Use a single bright point source at a low angle. A handheld inspection light or a focused LED works. Move it across the panel slowly so reflections rake the surface. Fine scratches light up when the beam is nearly parallel to the paint; they disappear when the light is straight on.
Look from multiple distances. Arm’s length for the overall haze. Close for individual scratches. Step back for whether the panel still looks uniform in ambient light — the only light most people will ever see the car under.
Wet a small section with clean water or quick detailer. If the haze vanishes while wet and returns as it dries, you may be looking at surface contamination or depleted protection rather than etched scratches. If the spiderweb survives wetting, you are closer to a real clear-coat defect.
Check adjacent panels the same way. A single worse door often tracks to wash, dry, or parking habits — not unique paint failure.
The diagnosis ladder
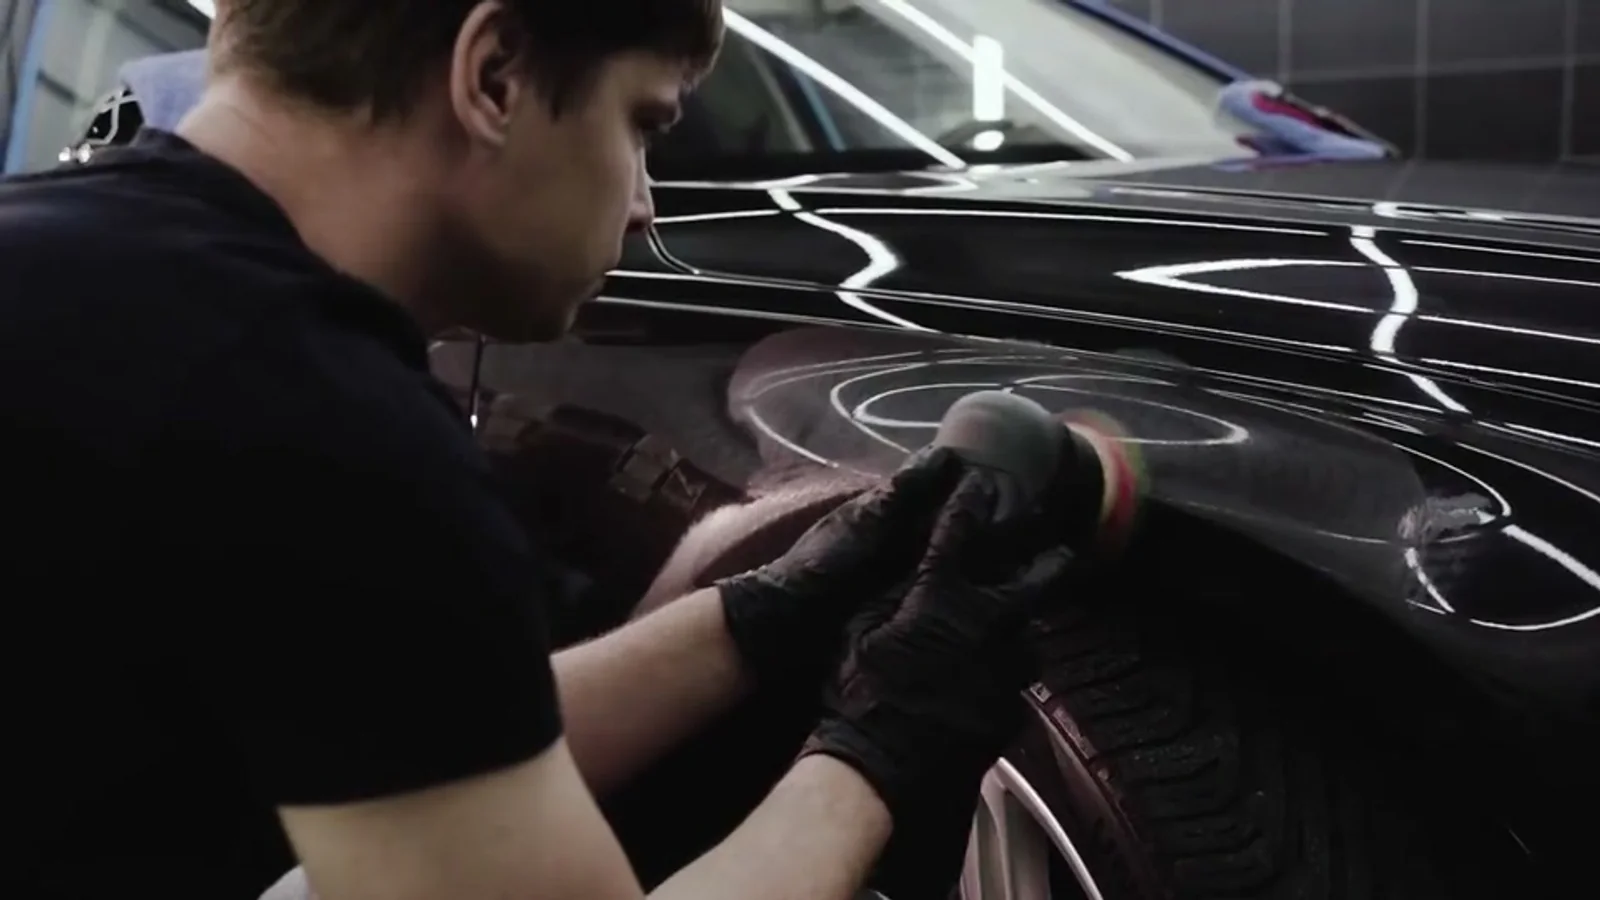
Hard, directional light is what makes swirls readable. It is also what shows up polishing that was done badly, which is why a lot of shops do not use it. Illustration.
Work up. Stop when the defect is explained. Do not jump to compounding because a dark car looked bad in sunlight after a rushed dry.
1. Residue and protection failure
Old wax, sealant, or coating can haze, blotch, or look swirled under raking light. A panel wipe with a dedicated panel wipe or isopropyl mix (at a dilution safe for your paint and trim) followed by re-inspection is the first filter. If the “swirls” largely disappear, you needed decontamination and fresh protection, not correction.
2. Bonded contamination
Industrial fallout, rail dust, and embedded grit make paint feel rough and look cloudy. A clay bar or clay mitt on lubricated paint, then a rinse and dry, often restores optical clarity without abrasion beyond the clay step itself. If the panel feels smooth afterward and the haze is gone under the inspection light, stop.
3. True light swirls
After wash, decontamination, and a clean dry, fine spiderwebbing that still survives the wet test is the classic light-correction candidate. These are usually shallow. Many respond to a finishing polish — by hand on a small area as a test, or with a machine if you already know how to control heat, pressure, and pad cleanliness.
A spot test matters more than a full-car commitment. Correct a hand-sized area in an inconspicuous zone, wipe residue fully, and re-inspect under the same light. If the defect is gone and the panel still looks even, you have a plausible process. If it barely moved, escalate carefully — or accept that the scratch is deeper than a finishing polish should chase.
4. Deeper defects and holograms
Linear scratches that catch a nail, sanding marks, or heavy machine holograms from a previous aggressive polish are a different job. They may need compound, finer follow-up polish, and enough remaining clear coat to afford the work. They may also be defects you should leave alone if thickness is unknown or already low on edges and body lines.
Holograms that appear only under fluorescent light after someone “cut” the paint are often buffer trails from technique, not something a stronger compound will magically fix. They need a finishing step with controlled motion — or a better detailer — not more aggression.
What is not a reason to polish
Wanting more gloss before a show. Gloss from correction is partly leveling and partly oils. If the paint is already clean and protected, more abrasion is rarely the honest answer.
Water spots that are still deposits. Mineral rings that disappear when wet are a chemistry problem first. Polishing deposits into the clear coat is backwards. Identify the spot type before any abrasive.
A car that looks bad only after you wash it. That usually points at wash and dry technique. Fix the process that installs swirls before you pay clear coat to remove them.
Thin or unknown paint. Without a thickness gauge and a sense of where the thin spots are — edges, high points, previously corrected panels — aggressive correction is gambling. The correct decision is sometimes to stop at wash quality and protection.
When to get professional help
Bring in a correction specialist when defects survive a proper wash and decontamination, when scratches catch a fingernail across large areas, when a previous polish left holograms you cannot refine, or when you have no thickness readings on a car that may already have been cut. Also stop and get help if a spot test requires heavy compound with little improvement — that is the point where DIY enthusiasm spends clear coat fastest.
A good shop will measure, explain what they will and will not chase, and tell you when living with a scratch is safer than erasing it. That conversation is the opposite of a polishing-machine sales pitch, and it is the one worth paying for.
Keep reading
All paint correction guides →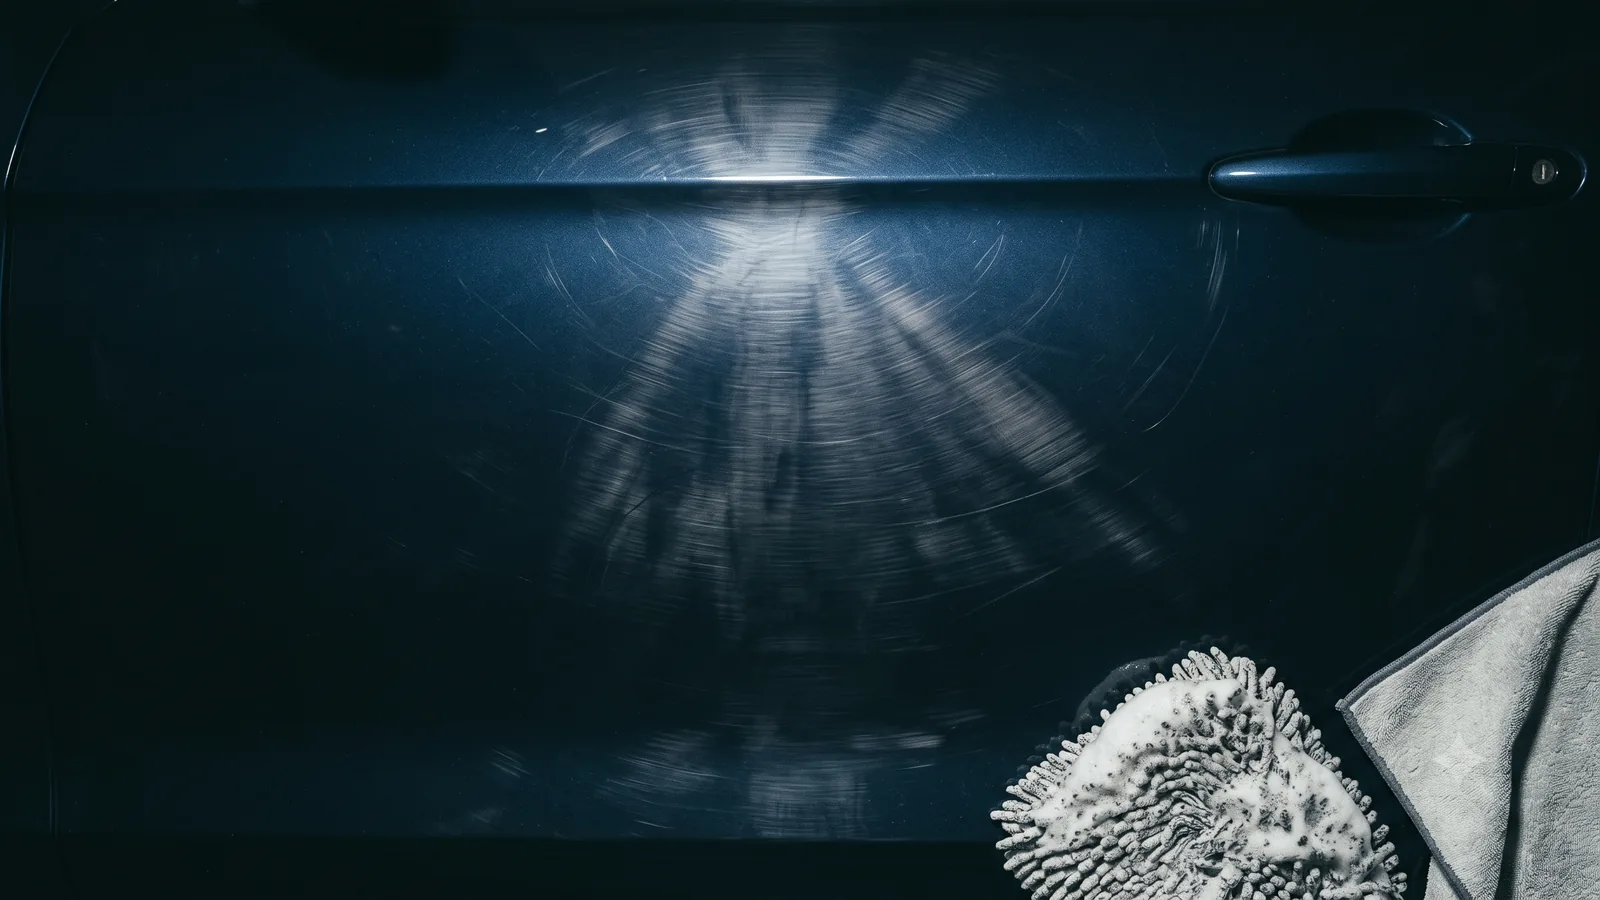
How to Wash a Car Without Scratching It
Most swirl marks are installed during washing and drying, not by weather. The technique that prevents them, and why two buckets is only half the answer.
How to Remove Water Spots From Car Paint, By Type
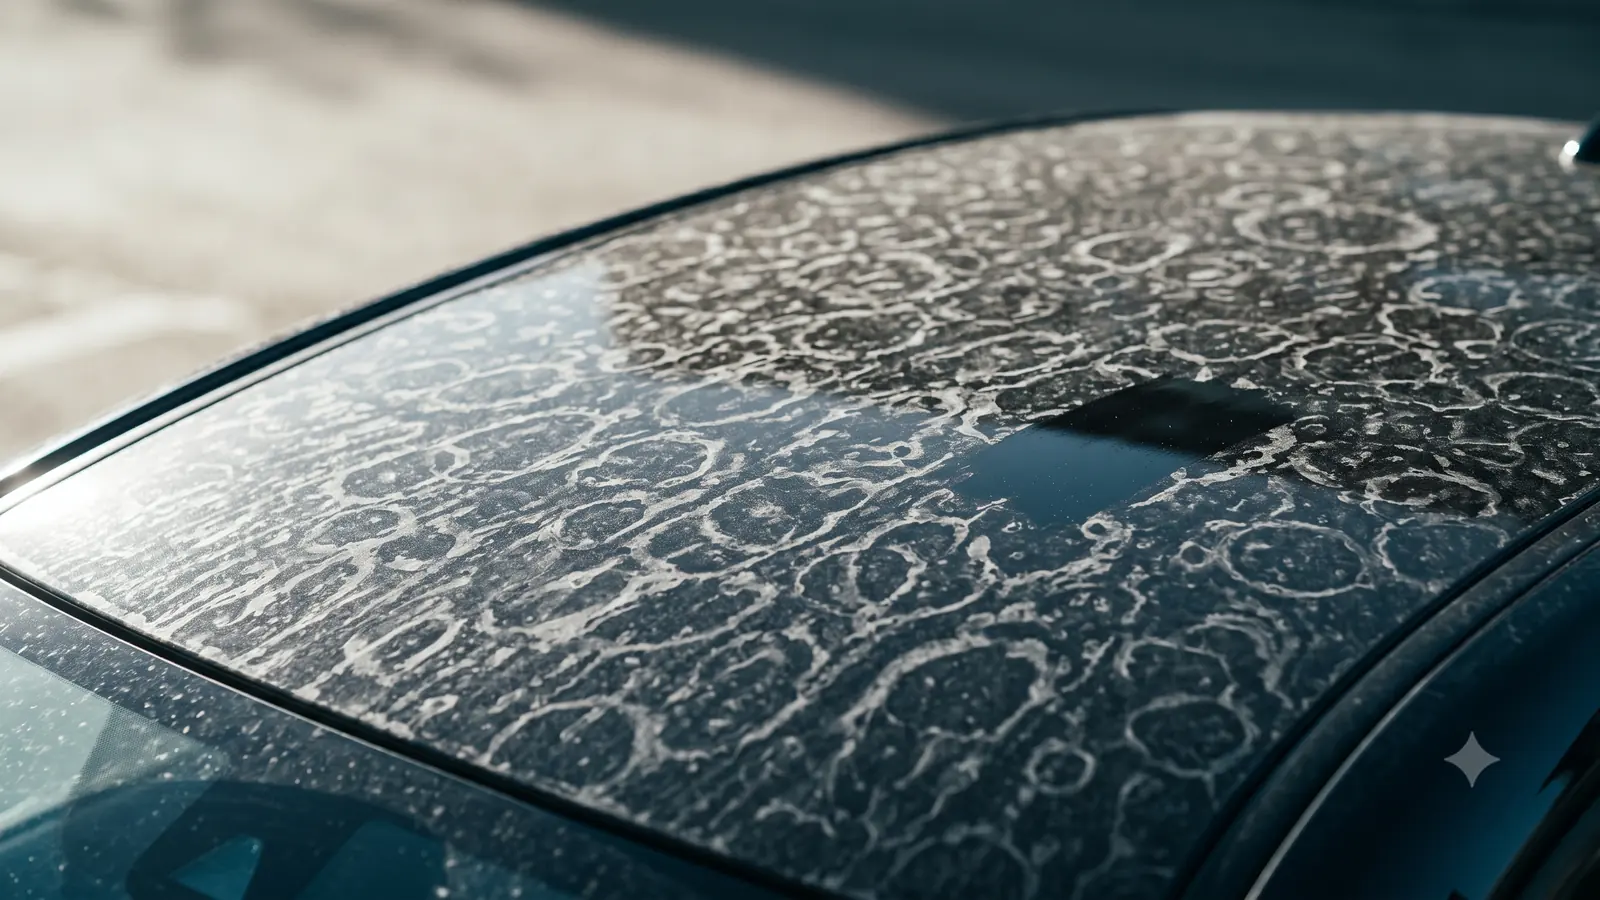
Three different problems get called water spots and each needs a different fix. How to identify which one you have before you reach for anything abrasive.