Interior
How to Clean a Car Interior Without Ruining It
Vacuum order, chemistry by surface, and what not to soak. Interior cleaning that does not create a worse problem than the dirt.
By Ducky, Co-founder and Lead Tester, ShineMD
Ducky works for Shine Master Detailers LLC, which makes ShineMD.
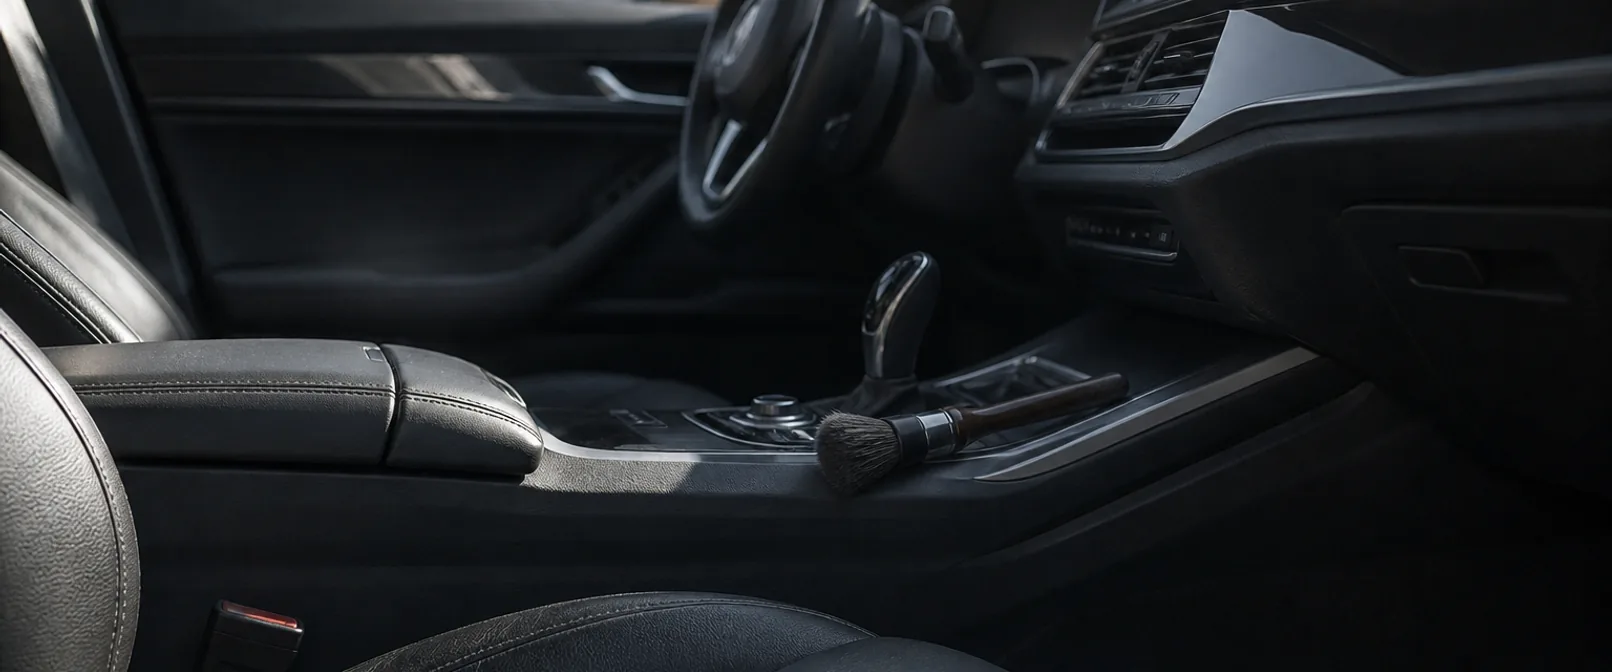
A car interior is not one surface. It is leather or coated leather, cloth, Alcantara, hard plastic, soft-touch coatings, piano black, carpet, glass, and a headliner glued to a board. What safely cleans one of those can stain, mat, crack, or delaminate another. Most interior disasters come from one product sprayed everywhere and too much liquid in the wrong place.
Start dry, and vacuum in the right order
Wetting dirt turns grit into an abrasive slurry you then wipe into plastics and leather. Dry removal first.
Empty the cabin. Floor mats out, rubbish gone, pockets cleared. You cannot clean what you cannot reach.
Vacuum top-down. Headliner dust and parcel-shelf grit fall onto seats and carpets. If you vacuum carpets first, you redo them.
Seats before carpets. Crevices, seat rails, and under the cushions collect the abrasive stuff that later migrates onto clothing and wet wipes. Use a crevice tool; do not grind a dirty brush attachment across perforated leather.
Carpets and mats last among soft surfaces. Agitate embedded grit with a soft brush into the vacuum path rather than smearing it. Shake and vacuum mats outside the car so that dirt does not settle back into the cabin.
Leave vents and tight trim for a soft brush and vacuum, not a soaking spray. Dust compacted into a wet paste is harder to extract and can migrate behind panels.
Chemistry by surface
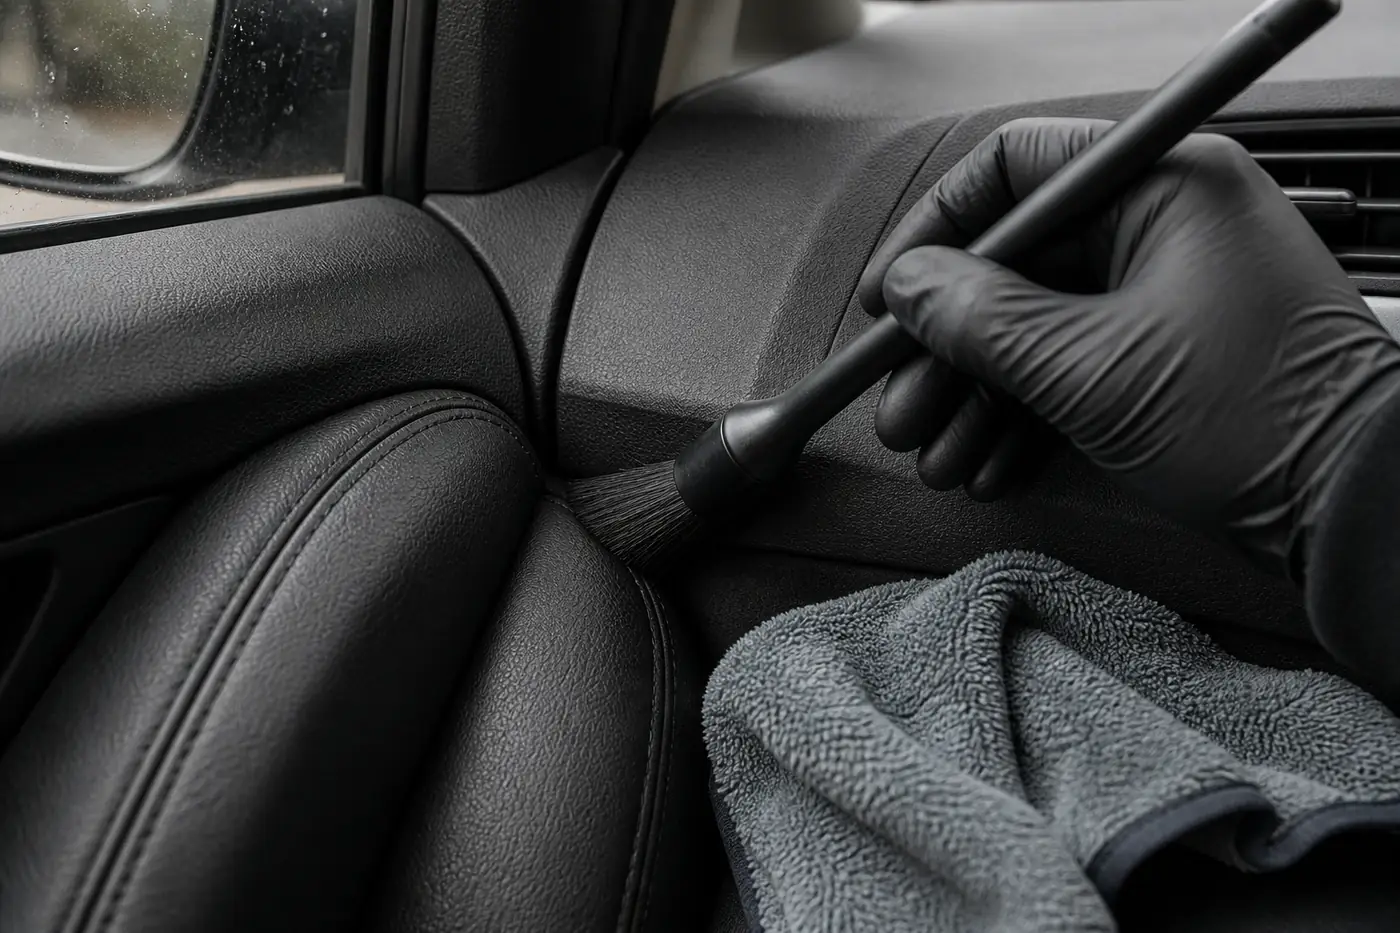
A soft brush moves grit out of the seams so a towel is not dragging it across the trim. Note the towel is damp, not wet. Illustration.
Match the cleaner to the material. “Interior detailer” on a label is not a license to treat everything the same.
Leather and coated leather
Most modern “leather” seats are coated. They want gentle cleaners designed for automotive leather, applied to a cloth or applicator — not flooded onto the seat. Wipe, agitate lightly with a soft brush if needed, and wipe dry.
Perforated leather is the failure mode people learn once. Liquid sprayed onto the seat runs into the holes, soaks the foam, and can smell for weeks. Product on the applicator only. Less liquid than feels satisfying.
Conditioner is optional maintenance for some leathers and a shine gimmick on others. If the surface is coated and already flexible, heavy conditioner mostly sits on top, attracts dust, and can make the seat greasy. When in doubt, clean thoroughly and condition sparingly on a small test area.
Alcantara and suede-like inserts
Alcantara is not leather and does not want leather conditioner. It mats and darkens when saturated. Use a dedicated Alcantara or fabric approach: dry brush to lift the nap, light mist of an appropriate cleaner on a cloth if needed, blot, and allow to dry fully before use. Avoid circular scrubbing that felts the fibres.
Cloth seats and carpets
Fabric cleaners and careful extraction beat soaking a cushion until it squelches. Over-wet foam stays wet against the floorpan, smells, and can rust fasteners you never see. Work small areas, blot toward clean towels, and run airflow or leave doors open until the material is actually dry — not just surface-dry.
Spot-test anything aggressive on a hidden edge. Dye migration and whitening are cheaper to discover on a bolster edge than on the seating face.
Hard plastics and soft-touch trim
Hard plastics tolerate a mild all-purpose cleaner diluted properly, wiped with a microfibre, then dried. Soft-touch coatings (the rubbery dash and console skins) can discolor or become permanently sticky with strong solvents and some silicone-heavy dressings. Prefer cleaners marketed as safe for those surfaces, use minimal product, and wipe residue off rather than leaving a glossy film that becomes a dust magnet.
Piano black and high-gloss trim
Dry wiping piano black is how fine scratches appear. Dust is abrasive. Flood the surface with a lubricating detailer or mild cleaner on a plush microfibre, wipe lightly, and finish with a clean dry side. If it looks dusty between deep cleans, a gentle air blow or a barely damp microfibre is safer than a dry scrub.
What not to soak
Headliners. The fabric is glued to a board. Excess liquid releases the adhesive and the liner sags — a repair that dwarfs the stain you were chasing. Spot-clean with a barely damp cloth, blot, and stop.
Electronics, switches, and screens. Moisture behind a switch pack is not a detailing win. Spray the cloth, not the dashboard. Use screen-safe methods on infotainment glass; household glass cleaners with ammonia are a poor default on coated displays.
Seat-belt webbing. Belts can be surface-cleaned carefully; soaking them or using harsh chemicals is a safety concern, not just a cosmetics one. If a belt is contaminated with something serious, follow the vehicle maker’s guidance rather than improvising.
Airbag covers and seams. Do not pry, solvent-soak, or force brushes into cover gaps. Clean what you can reach gently and leave the assembly alone.
Under-seat foam and carpet padding. If you need that much water to make it look clean, you need extraction equipment and drying capacity — or a professional — not a bigger spray bottle.
A simple sequence that stays safe
- Dry vacuum, top-down.
- Soft-brush vents and crevices into the vacuum.
- Clean leather or fabric seats with material-appropriate chemistry on applicators, not open sprays over perforations.
- Wipe plastics with diluted cleaner and separate towels from the ones used on leather dressings.
- Glass last among the interior surfaces you wipe, so you are not dusting dirty panels afterward onto clean glass.
- Reinstall dry mats only when carpets are dry.
Skip dressings that turn the cabin into a slick film unless you have a specific reason. Many “new car smell” sprays are fragrance and residue. Clean first; decide later whether any protectant is needed.
When to get professional help
Call a specialist for heavy staining that has wicked into foam, smoke or mould odour, dye transfer that returns after careful cleaning, or a headliner that is already lifting. The same applies if you have Alcantara or exotic trim and the first careful attempt made the nap look worse — stop before you invent a second problem. Professionals with extraction tools and material-specific processes exist for a reason; drowning the cabin is not a substitute.
Keep reading
All interior guides →
How to Get Streak-Free Car Windows Without Guessing the Cause
Surface mineral deposits and etched glass need different fixes. A sequence for streak-free windows without guessing which problem you have.
How to Wash a Car Without Scratching It
Most swirl marks are installed during washing and drying, not by weather. The technique that prevents them, and why two buckets is only half the answer.